

Deploying on Azure Web Services
Last updated on 21st April 2026
Note that this example also makes usage of Azure Devops, a free service alongside Azure for handling deployment. It is recommended that when deploying to Azure you make usage of the Devops Pipelines and Releases as this will ensure best practices for any future changes to your deployment.
Create your Build Pipeline
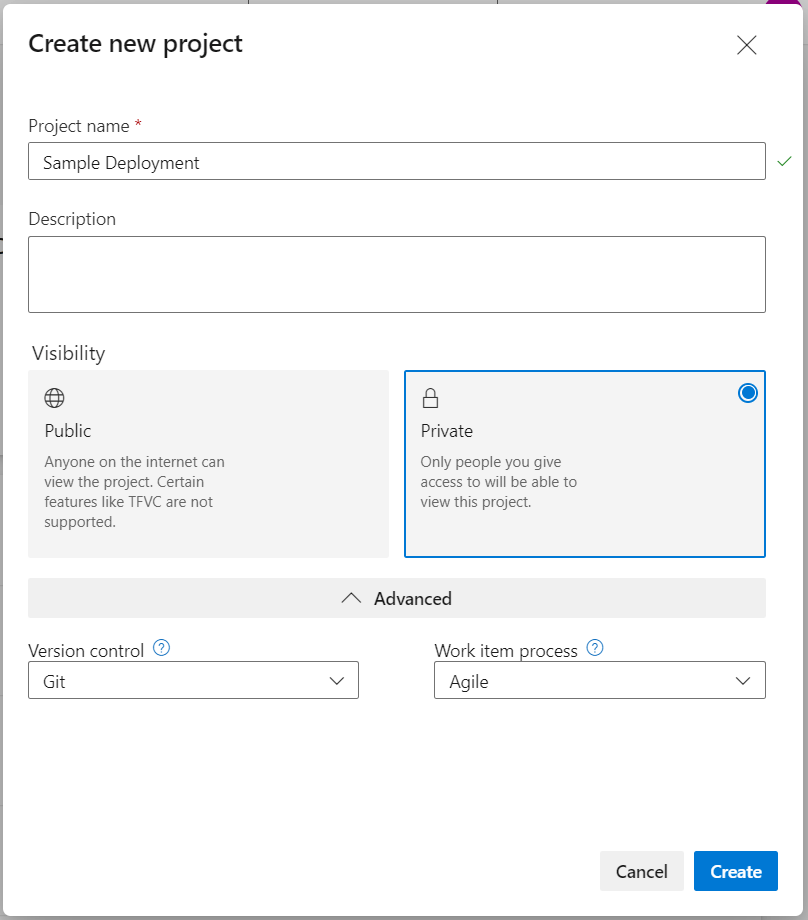
First from dev.azure.com/organization you'll want to create a new project.
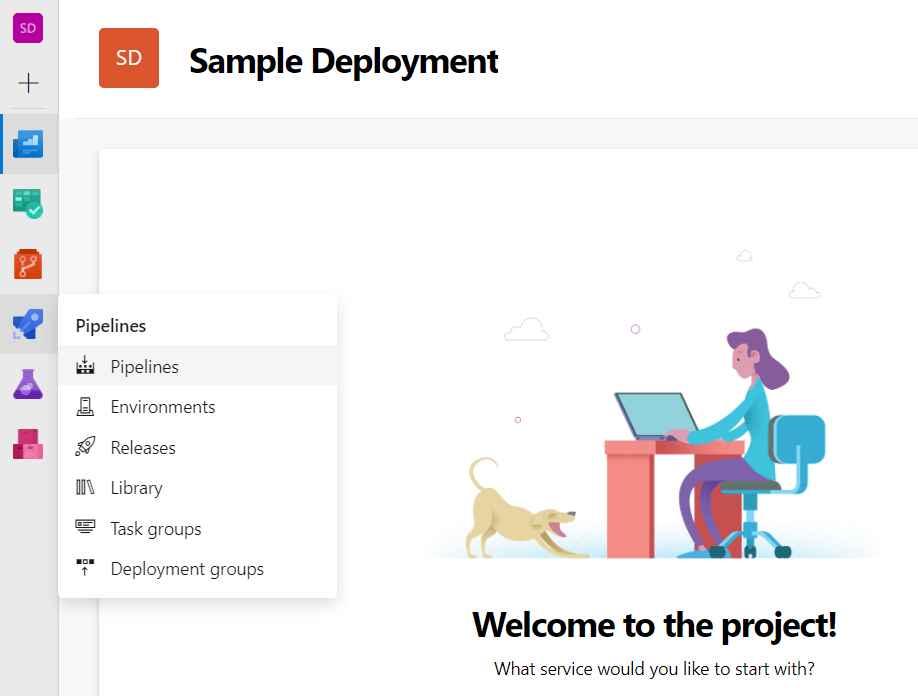
From there select Pipelines
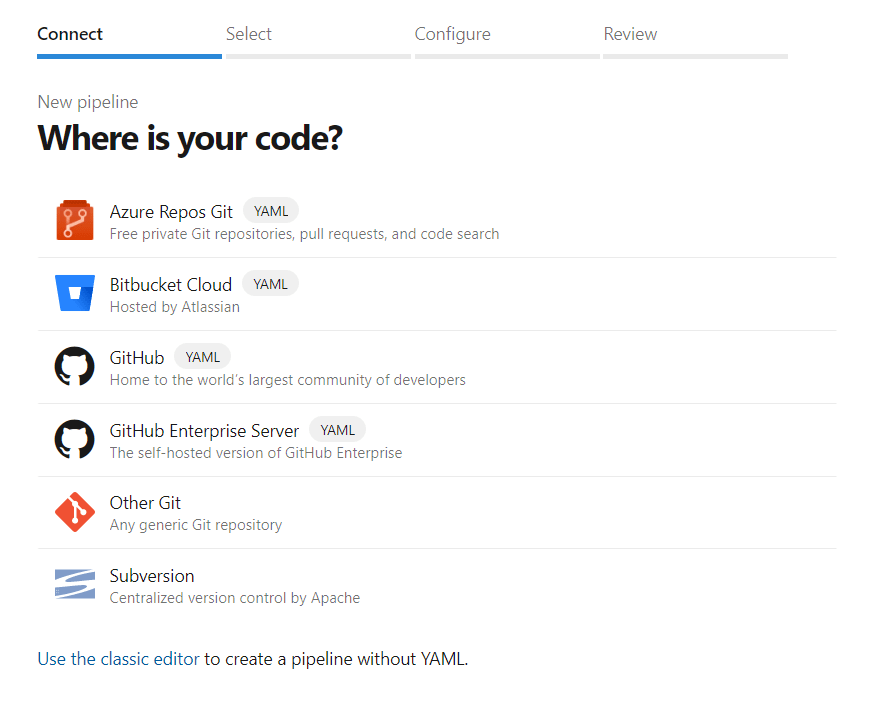
Create a pipeline, and follow the steps to connect your repository, this will change if this is your first connection between Github and Azure Devops requiring authentication.
You will be brought to a configuration page, if you have already included a .yml file on your repo this will be filled in automatically. If not select a Maven option, but we'll be replacing the yml code with the below
azure-pipelines.yml
# Maven
# Build your Java project and run tests with Apache Maven.
# Add steps that analyze code, save build artifacts, deploy, and more:
# https://docs.microsoft.com/azure/devops/pipelines/languages/java

trigger:
- master
- staging

pool:
  vmImage: 'ubuntu-latest'

steps:
- task: Maven@3
  inputs:
    mavenPomFile: 'pom.xml'
    options: '--settings settings.xml'
    mavenOptions: '-Xmx3072m'
    javaHomeOption: 'JDKVersion'
    jdkVersionOption: '1.8'
    jdkArchitectureOption: 'x64'
    publishJUnitResults: false
    testResultsFiles: '**/surefire-reports/TEST-*.xml'
    goals: 'package'

- task: CopyFiles@2
  displayName: 'Copy Files to artifact staging directory'
  inputs:
    SourceFolder: '$(System.DefaultWorkingDirectory)/target'
    Contents: 'simudyne-demos-1.0-SNAPSHOT-allinone.jar'
    TargetFolder: $(Build.ArtifactStagingDirectory)

- task: CopyFiles@2
  displayName: 'Copy Properties'
  inputs:
    SourceFolder: '$(System.DefaultWorkingDirectory)'
    Contents: 'simudyneSDK.properties'
    TargetFolder: $(Build.ArtifactStagingDirectory)

- task: CopyFiles@2
  displayName: 'Copy License'
  inputs:
    SourceFolder: '$(System.DefaultWorkingDirectory)'
    Contents: 'licenseKey'
    TargetFolder: $(Build.ArtifactStagingDirectory)

- task: CopyFiles@2
  displayName: 'Copy Startup'
  inputs:
    SourceFolder: '$(System.DefaultWorkingDirectory)'
    Contents: 'startup.sh'
    TargetFolder: $(Build.ArtifactStagingDirectory)

- task: PublishBuildArtifacts@1
  inputs:
    PathtoPublish: '$(Build.ArtifactStagingDirectory)'
    ArtifactName: 'drop'
publishLocation: 'Container'Once you have run and there are no issues with your pipeline compiling and moving the various files to the correct artifact directory.
Create your Release Pipeline
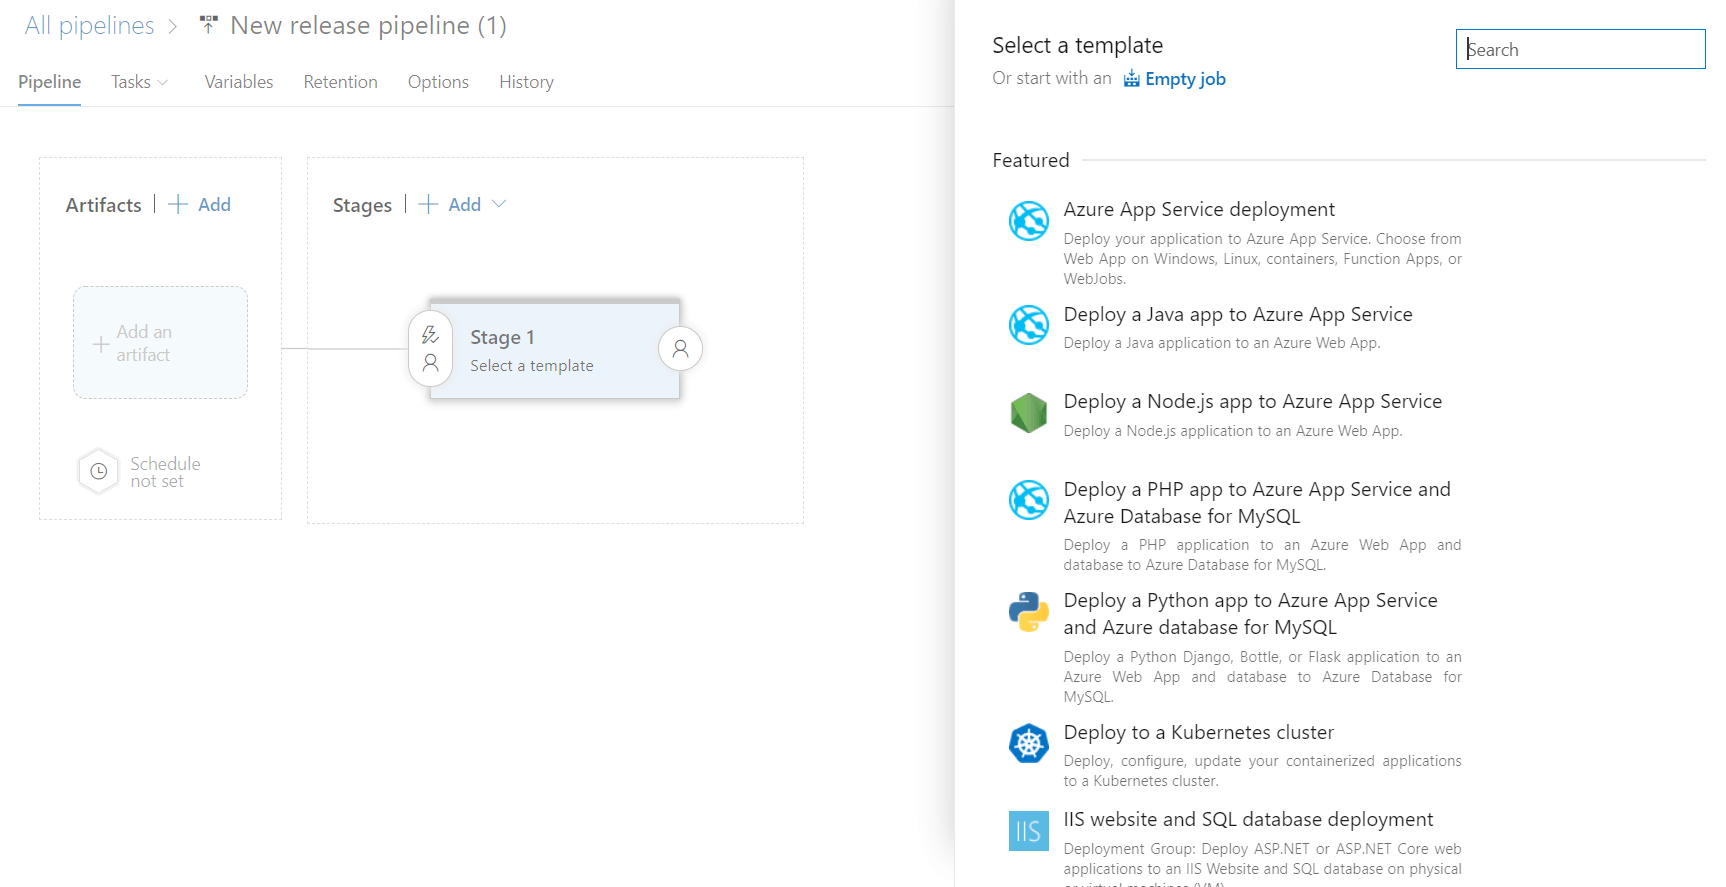
Now from the left menu we'll move over to Pipelines > Releases, from here we'll create a release pipeline selecting the 'Deploy a Java app to Azure App Service'
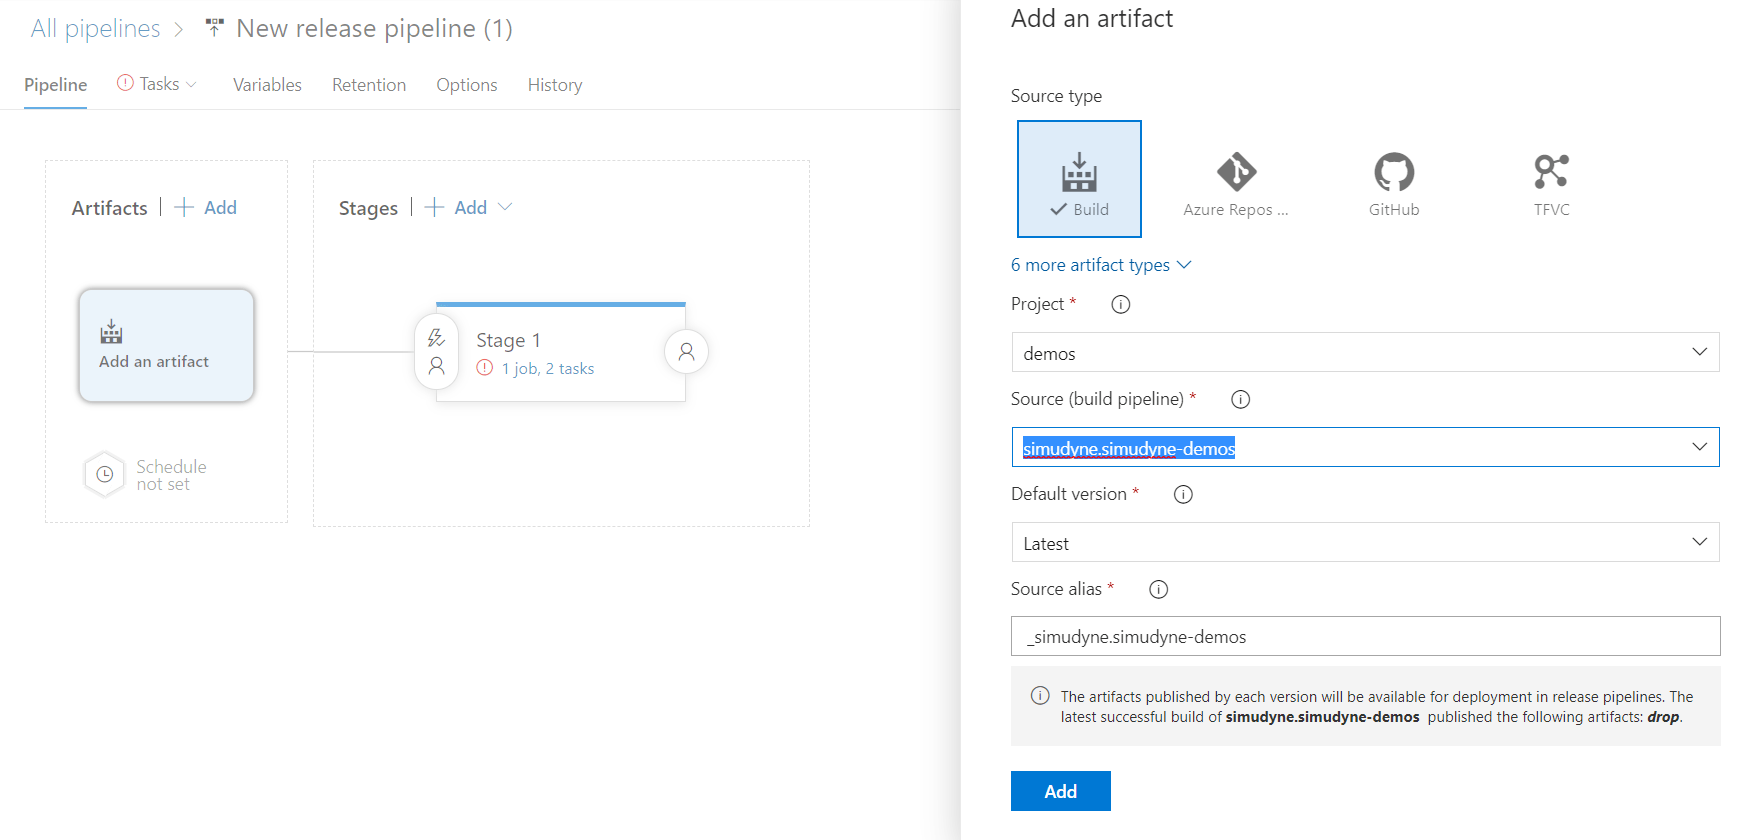
Let's click 'Add an Artifact' and make sure to select our project and the Source, which should be our build pipeline we just created.
Next let's click where it says '1 Job, 2 Tasks'. From here we will want to Delete the task for the 'Deploy War to App Service' and also Enable the 'Deploy Jar to App Service', both of which can be done by right-clicking.

On the right you will be required to connect to your Azure Subscription and the App Service you wish to deploy too. This may require further authentication see Azure's Documentation for more.
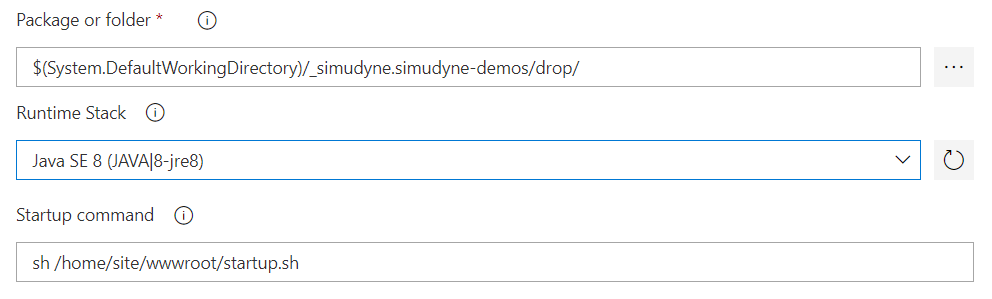
The main things you'll need to do are to make sure the name of the folder corresponds to the one we copied above 'drop', the Runtime Stack is set to Java 8, and finally that we refer to the startup.sh script which should be placed in your main directory. The contents of that script are fairly simple
#!/bin/bash

# Move to artifact directory
cd /home/site/wwwroot

java -jar simudyne-demos-1.0-SNAPSHOT-allinone.jar
After that simply create your first release and deploy. Once successful you should be able to go to the address of your app service (via portal.azure.com) and view your deployment as if it was local.